Follow these steps to migrate an existing WordPress blog or site to an Instablog.
Create Backup of Source WordPress Site
First, login to the Admin area of your WordPress site or blog that you would like to import to an Instablog (the "source" site).
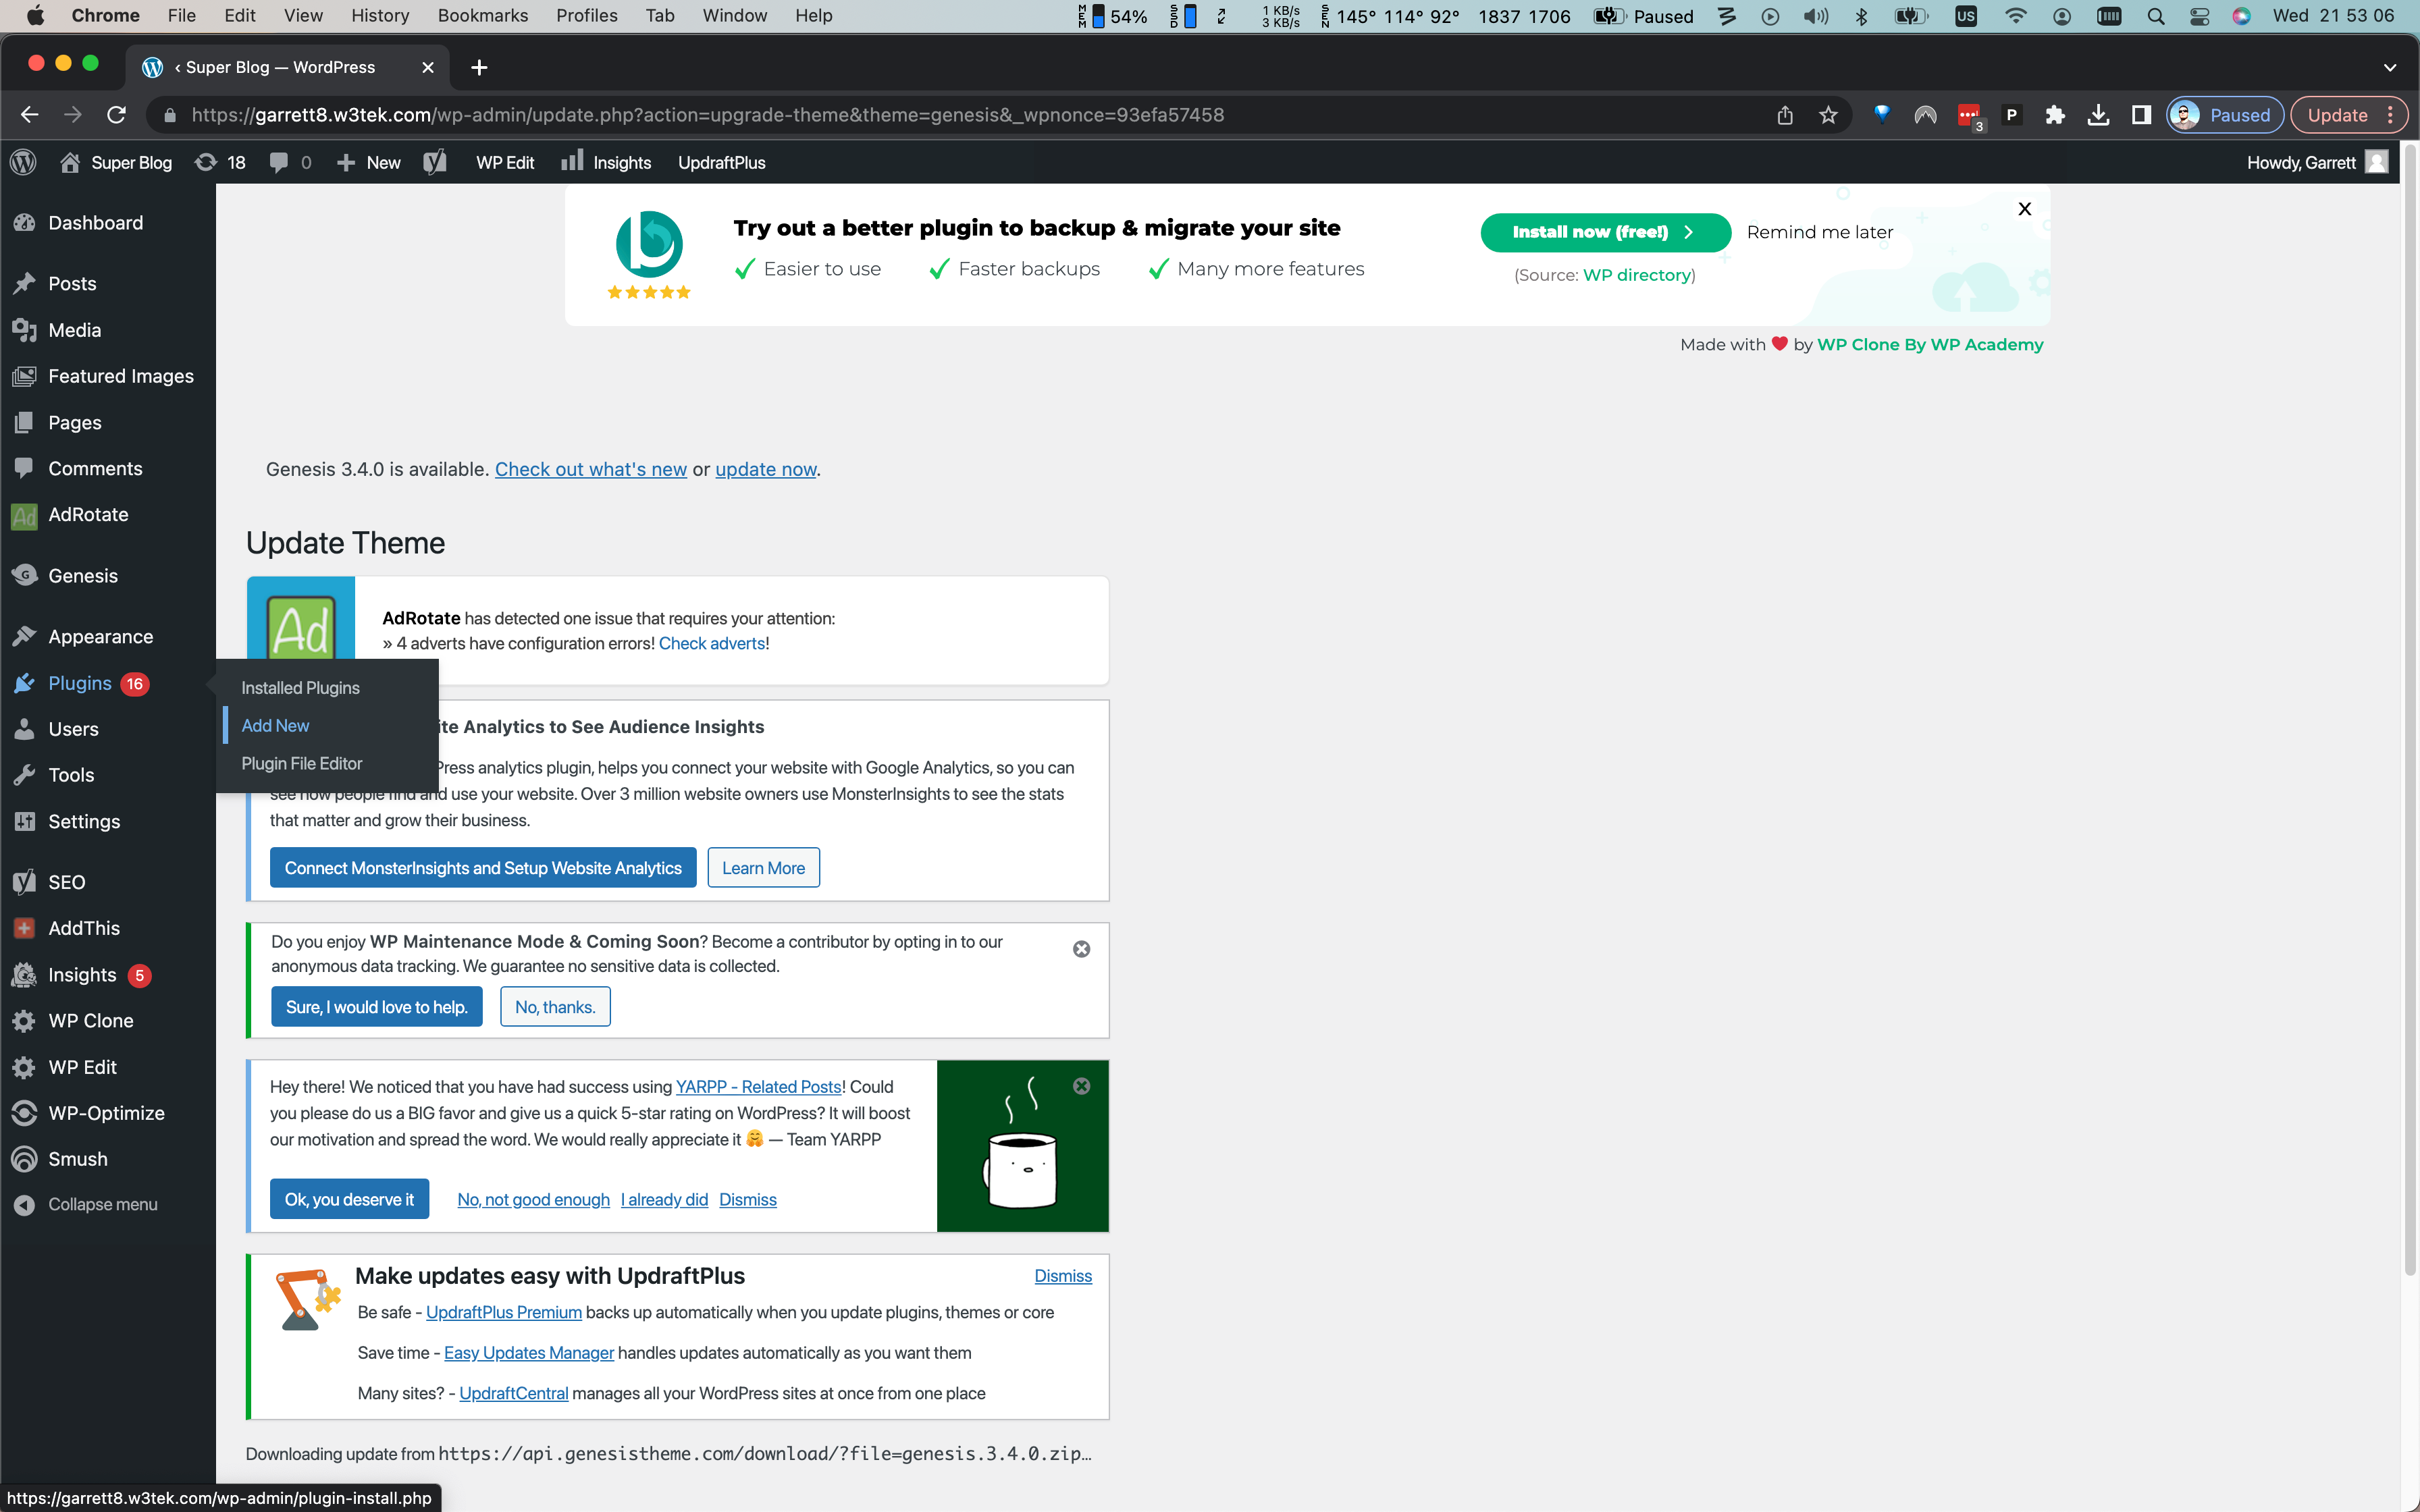
Next, you will need to install the Backup Migration plugin, if it is not already installed. In the left-hand menu, navigate to Plugins > Add New, as shown below.
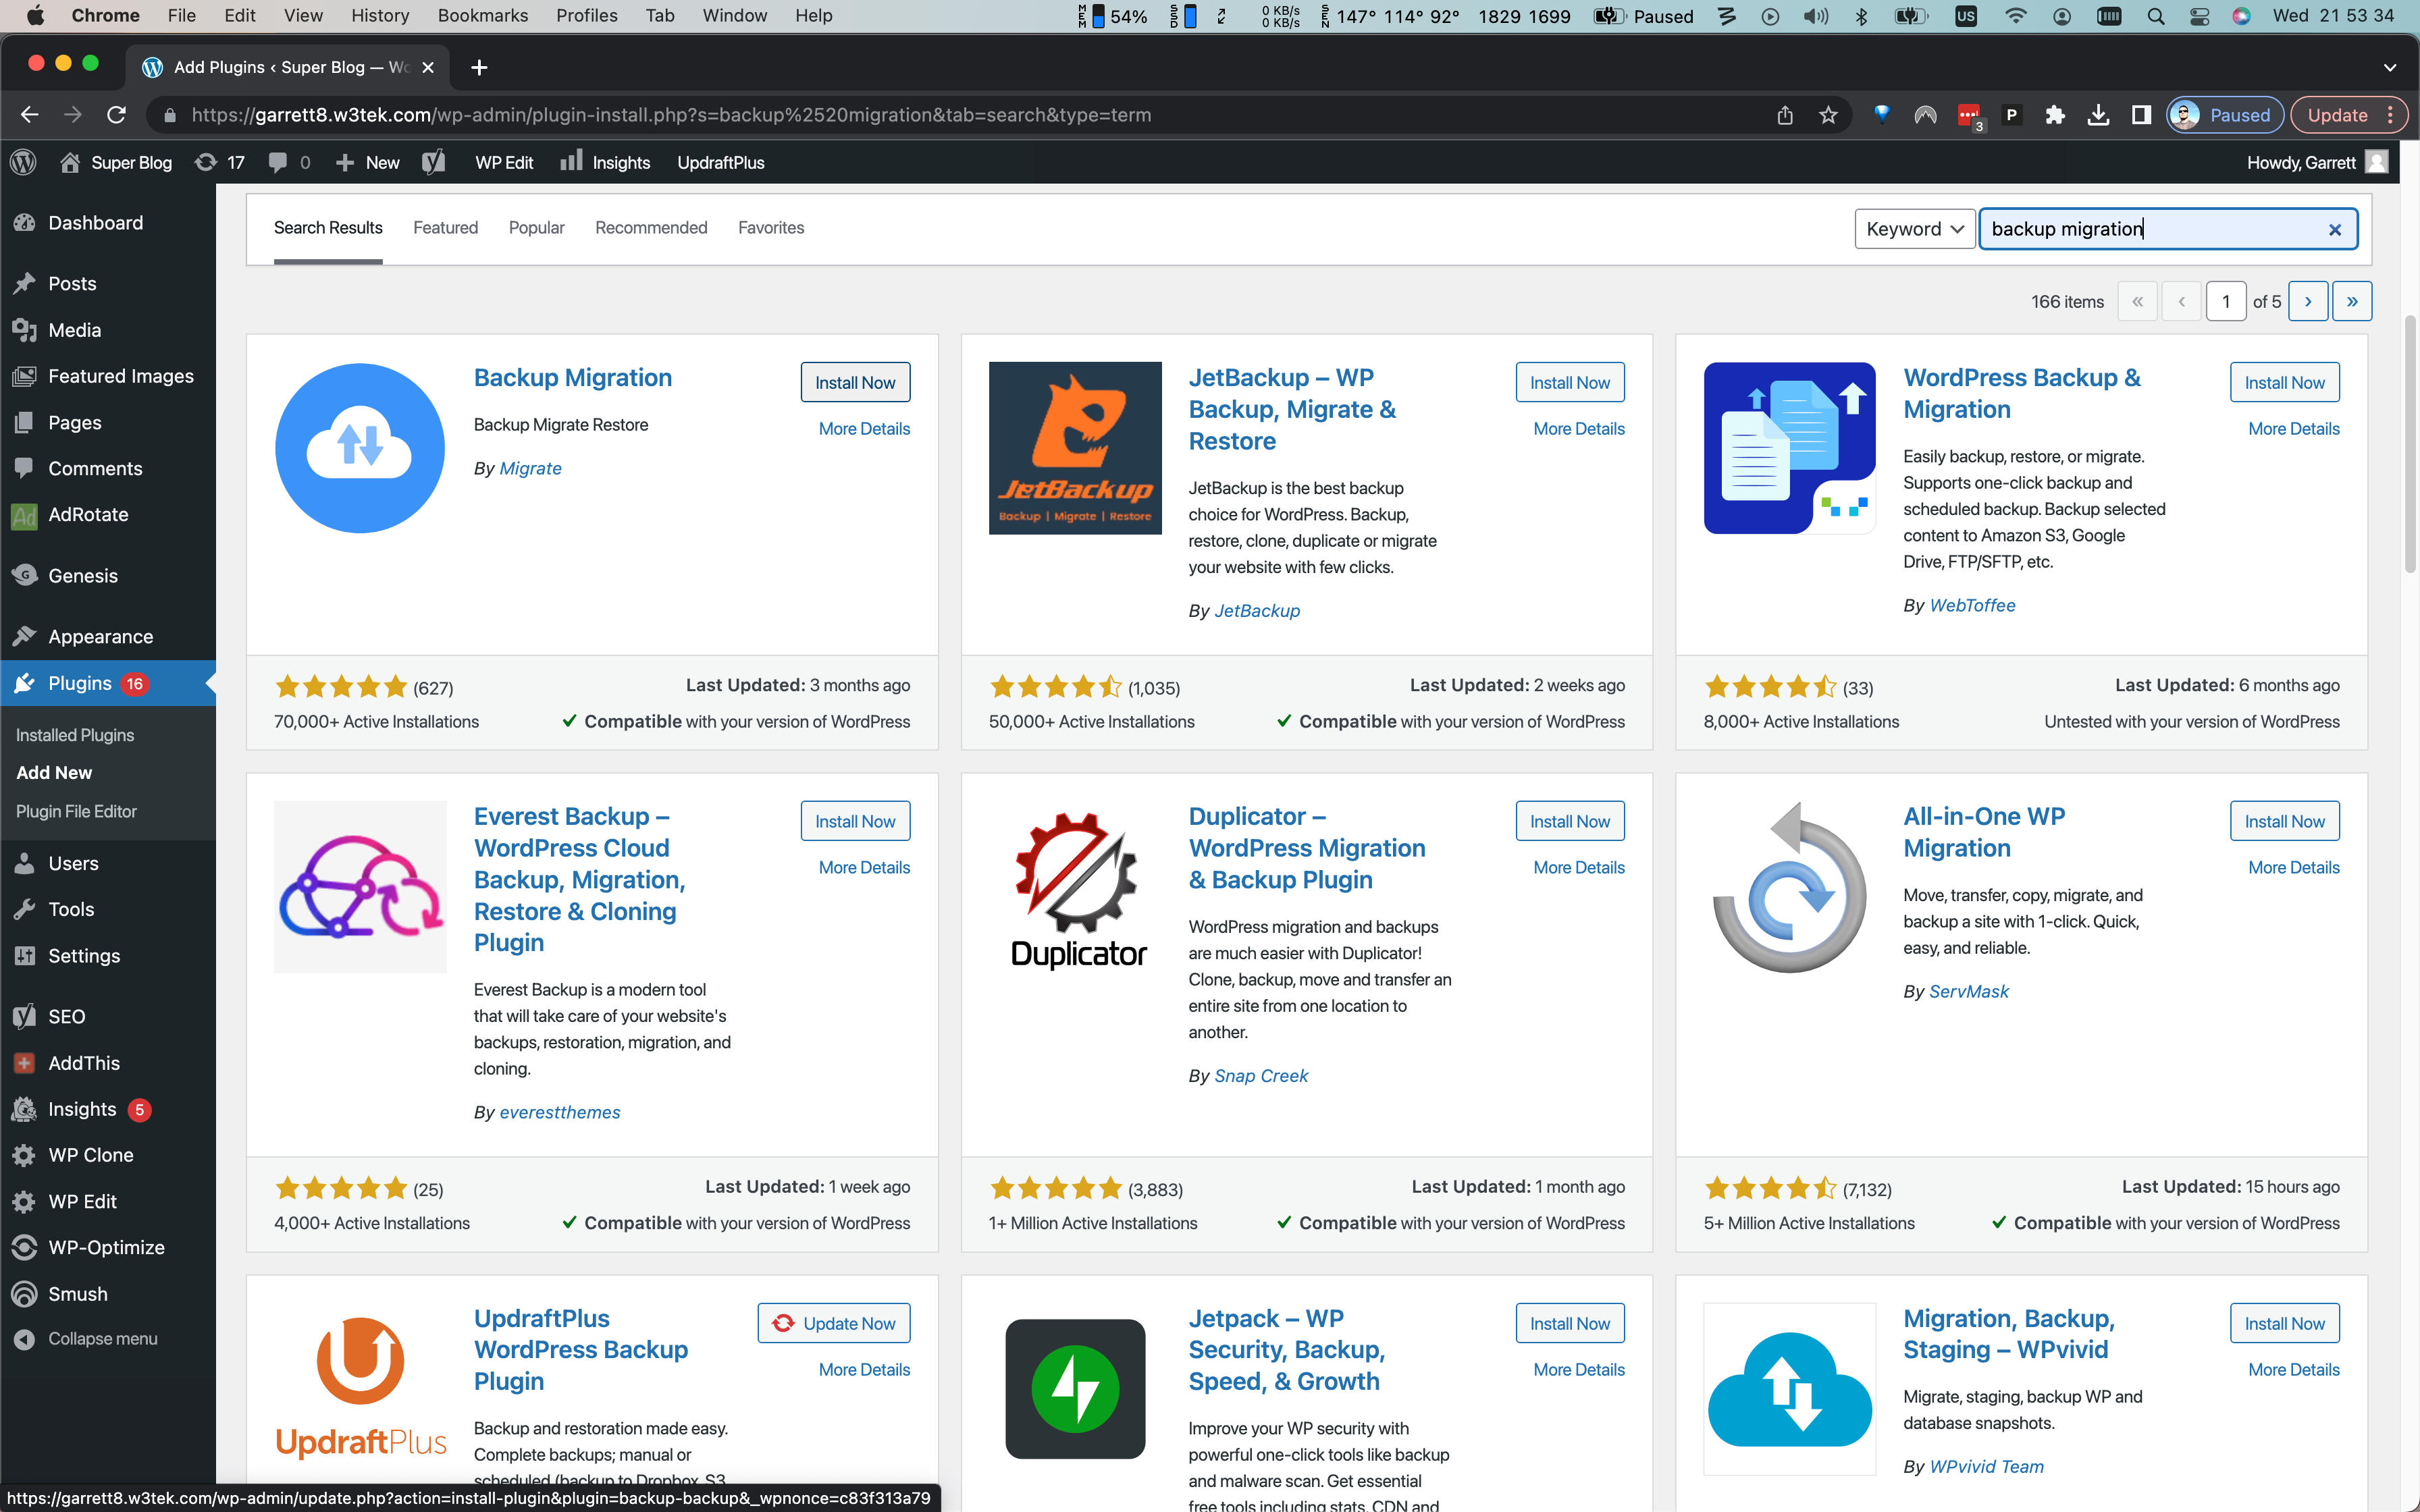
In the search field, on the right-hand side of this page, search for Backup Migration. Install the plugin and activate it, as shown here.
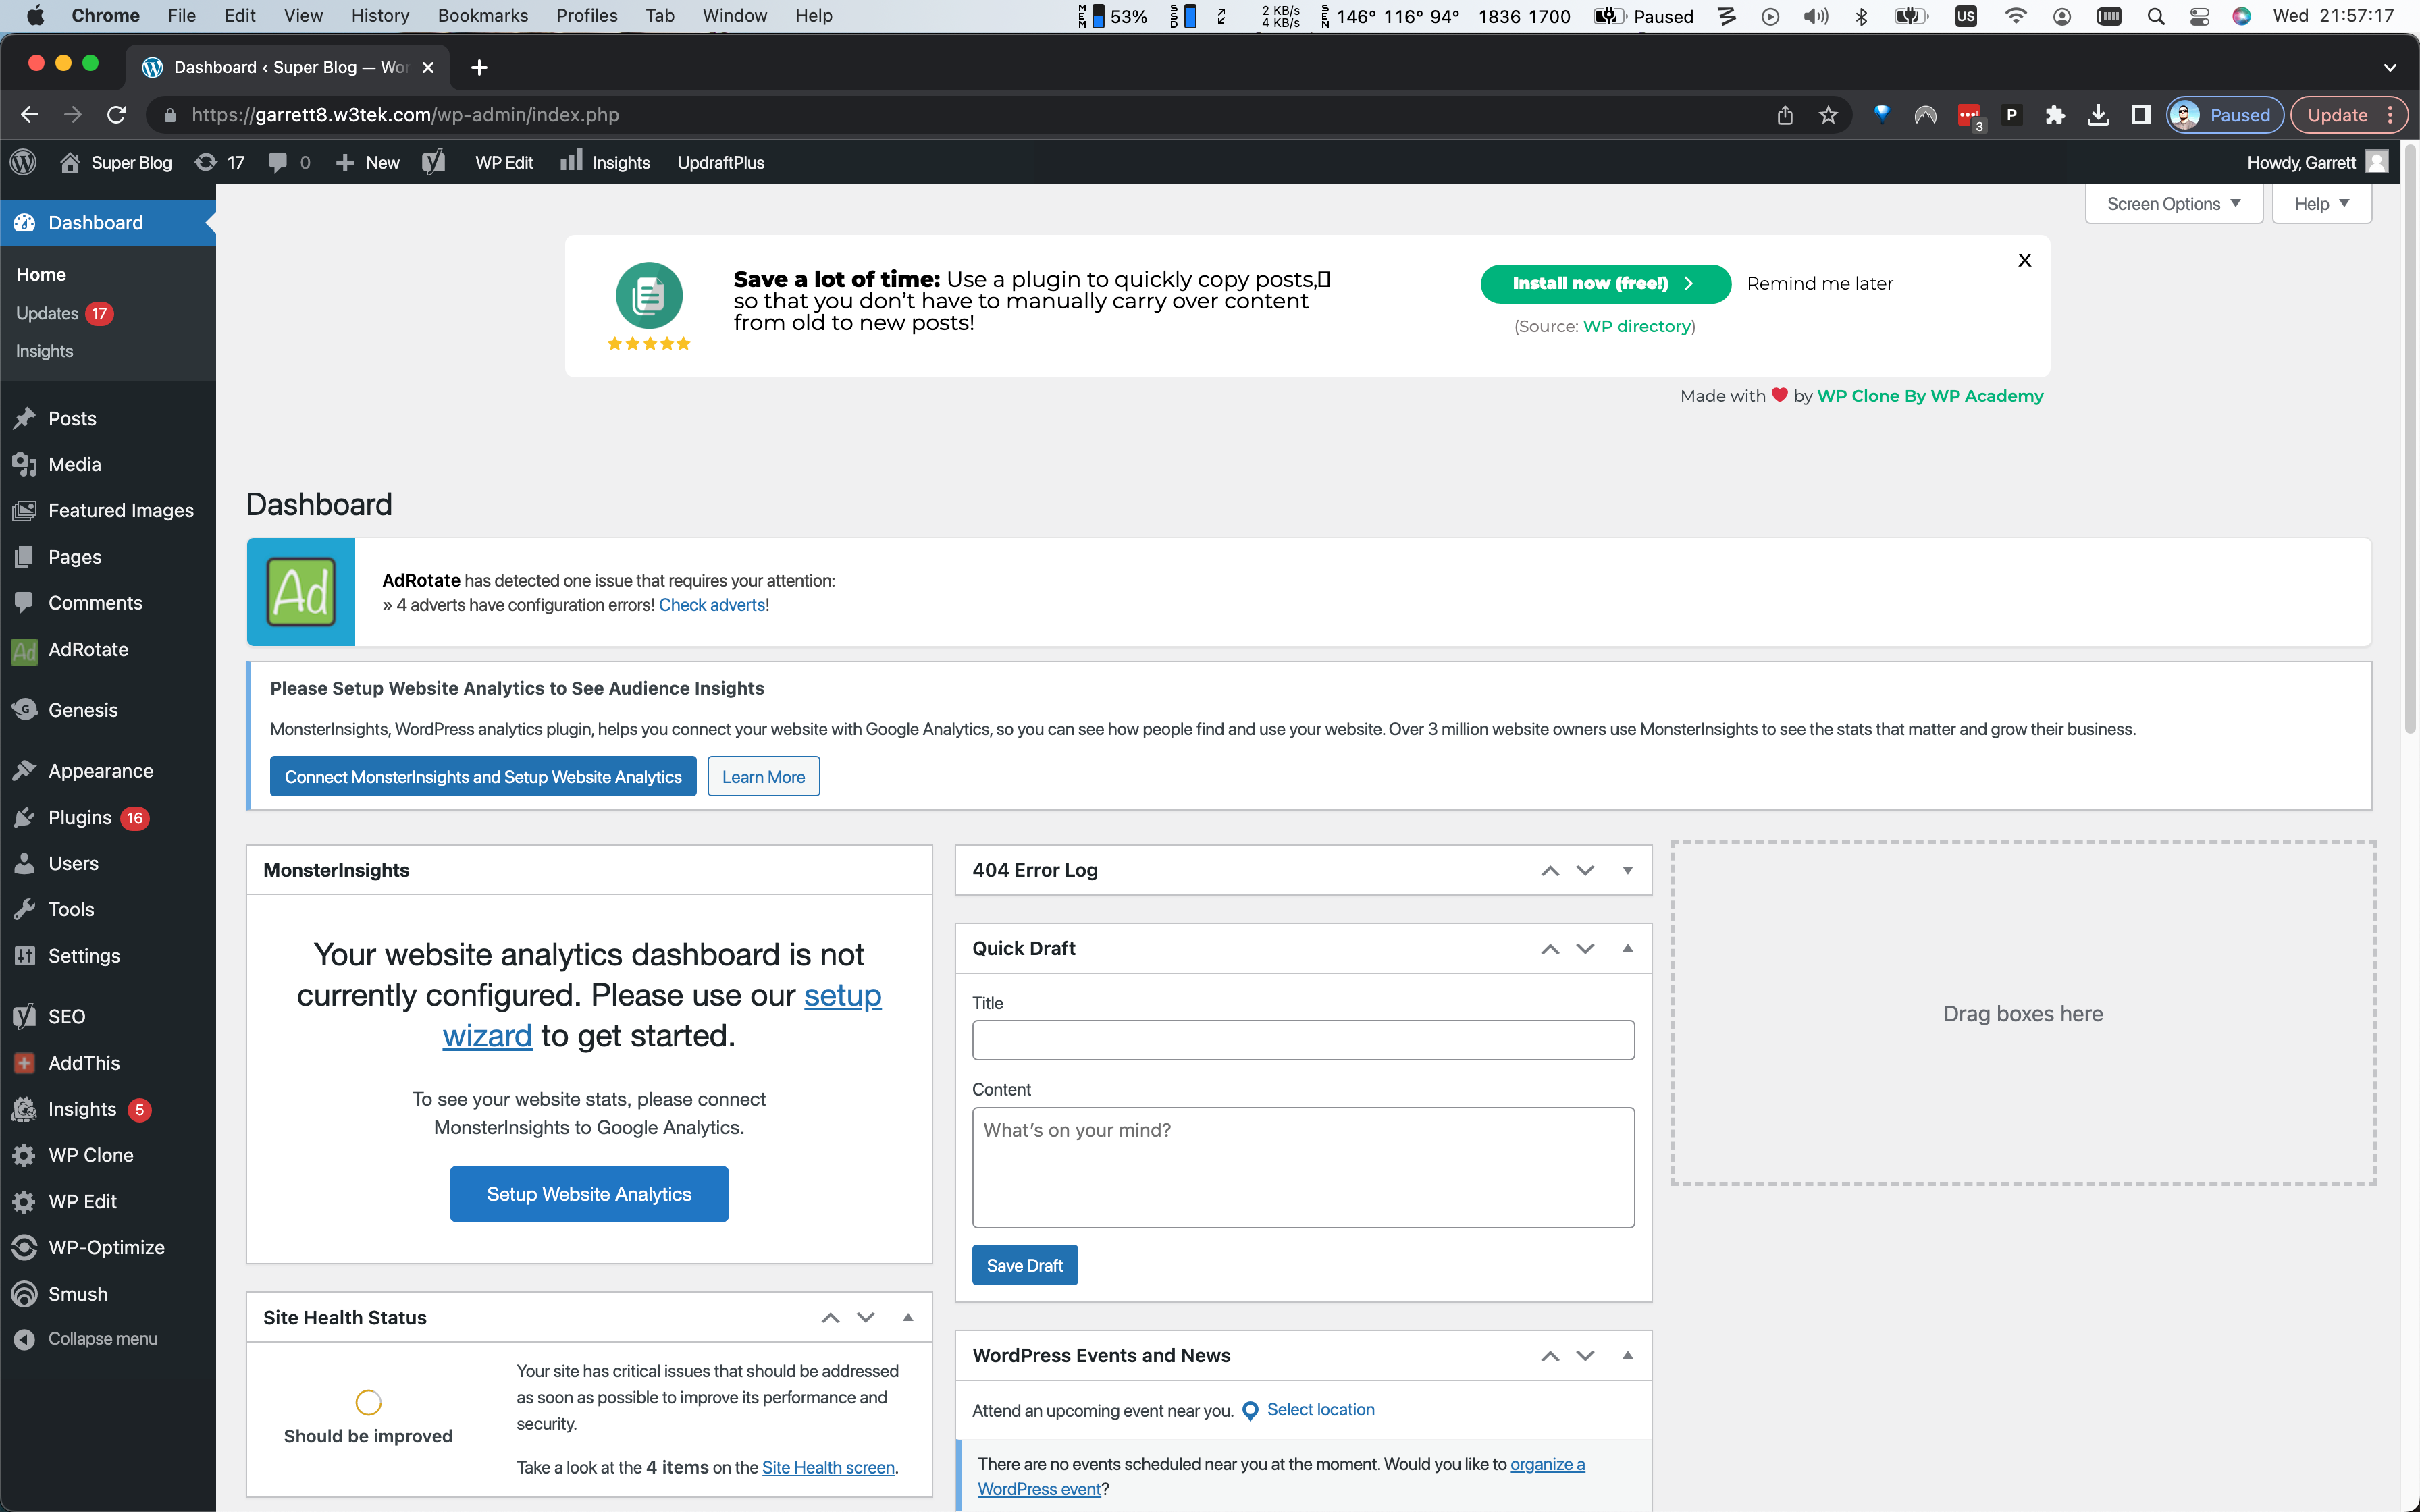
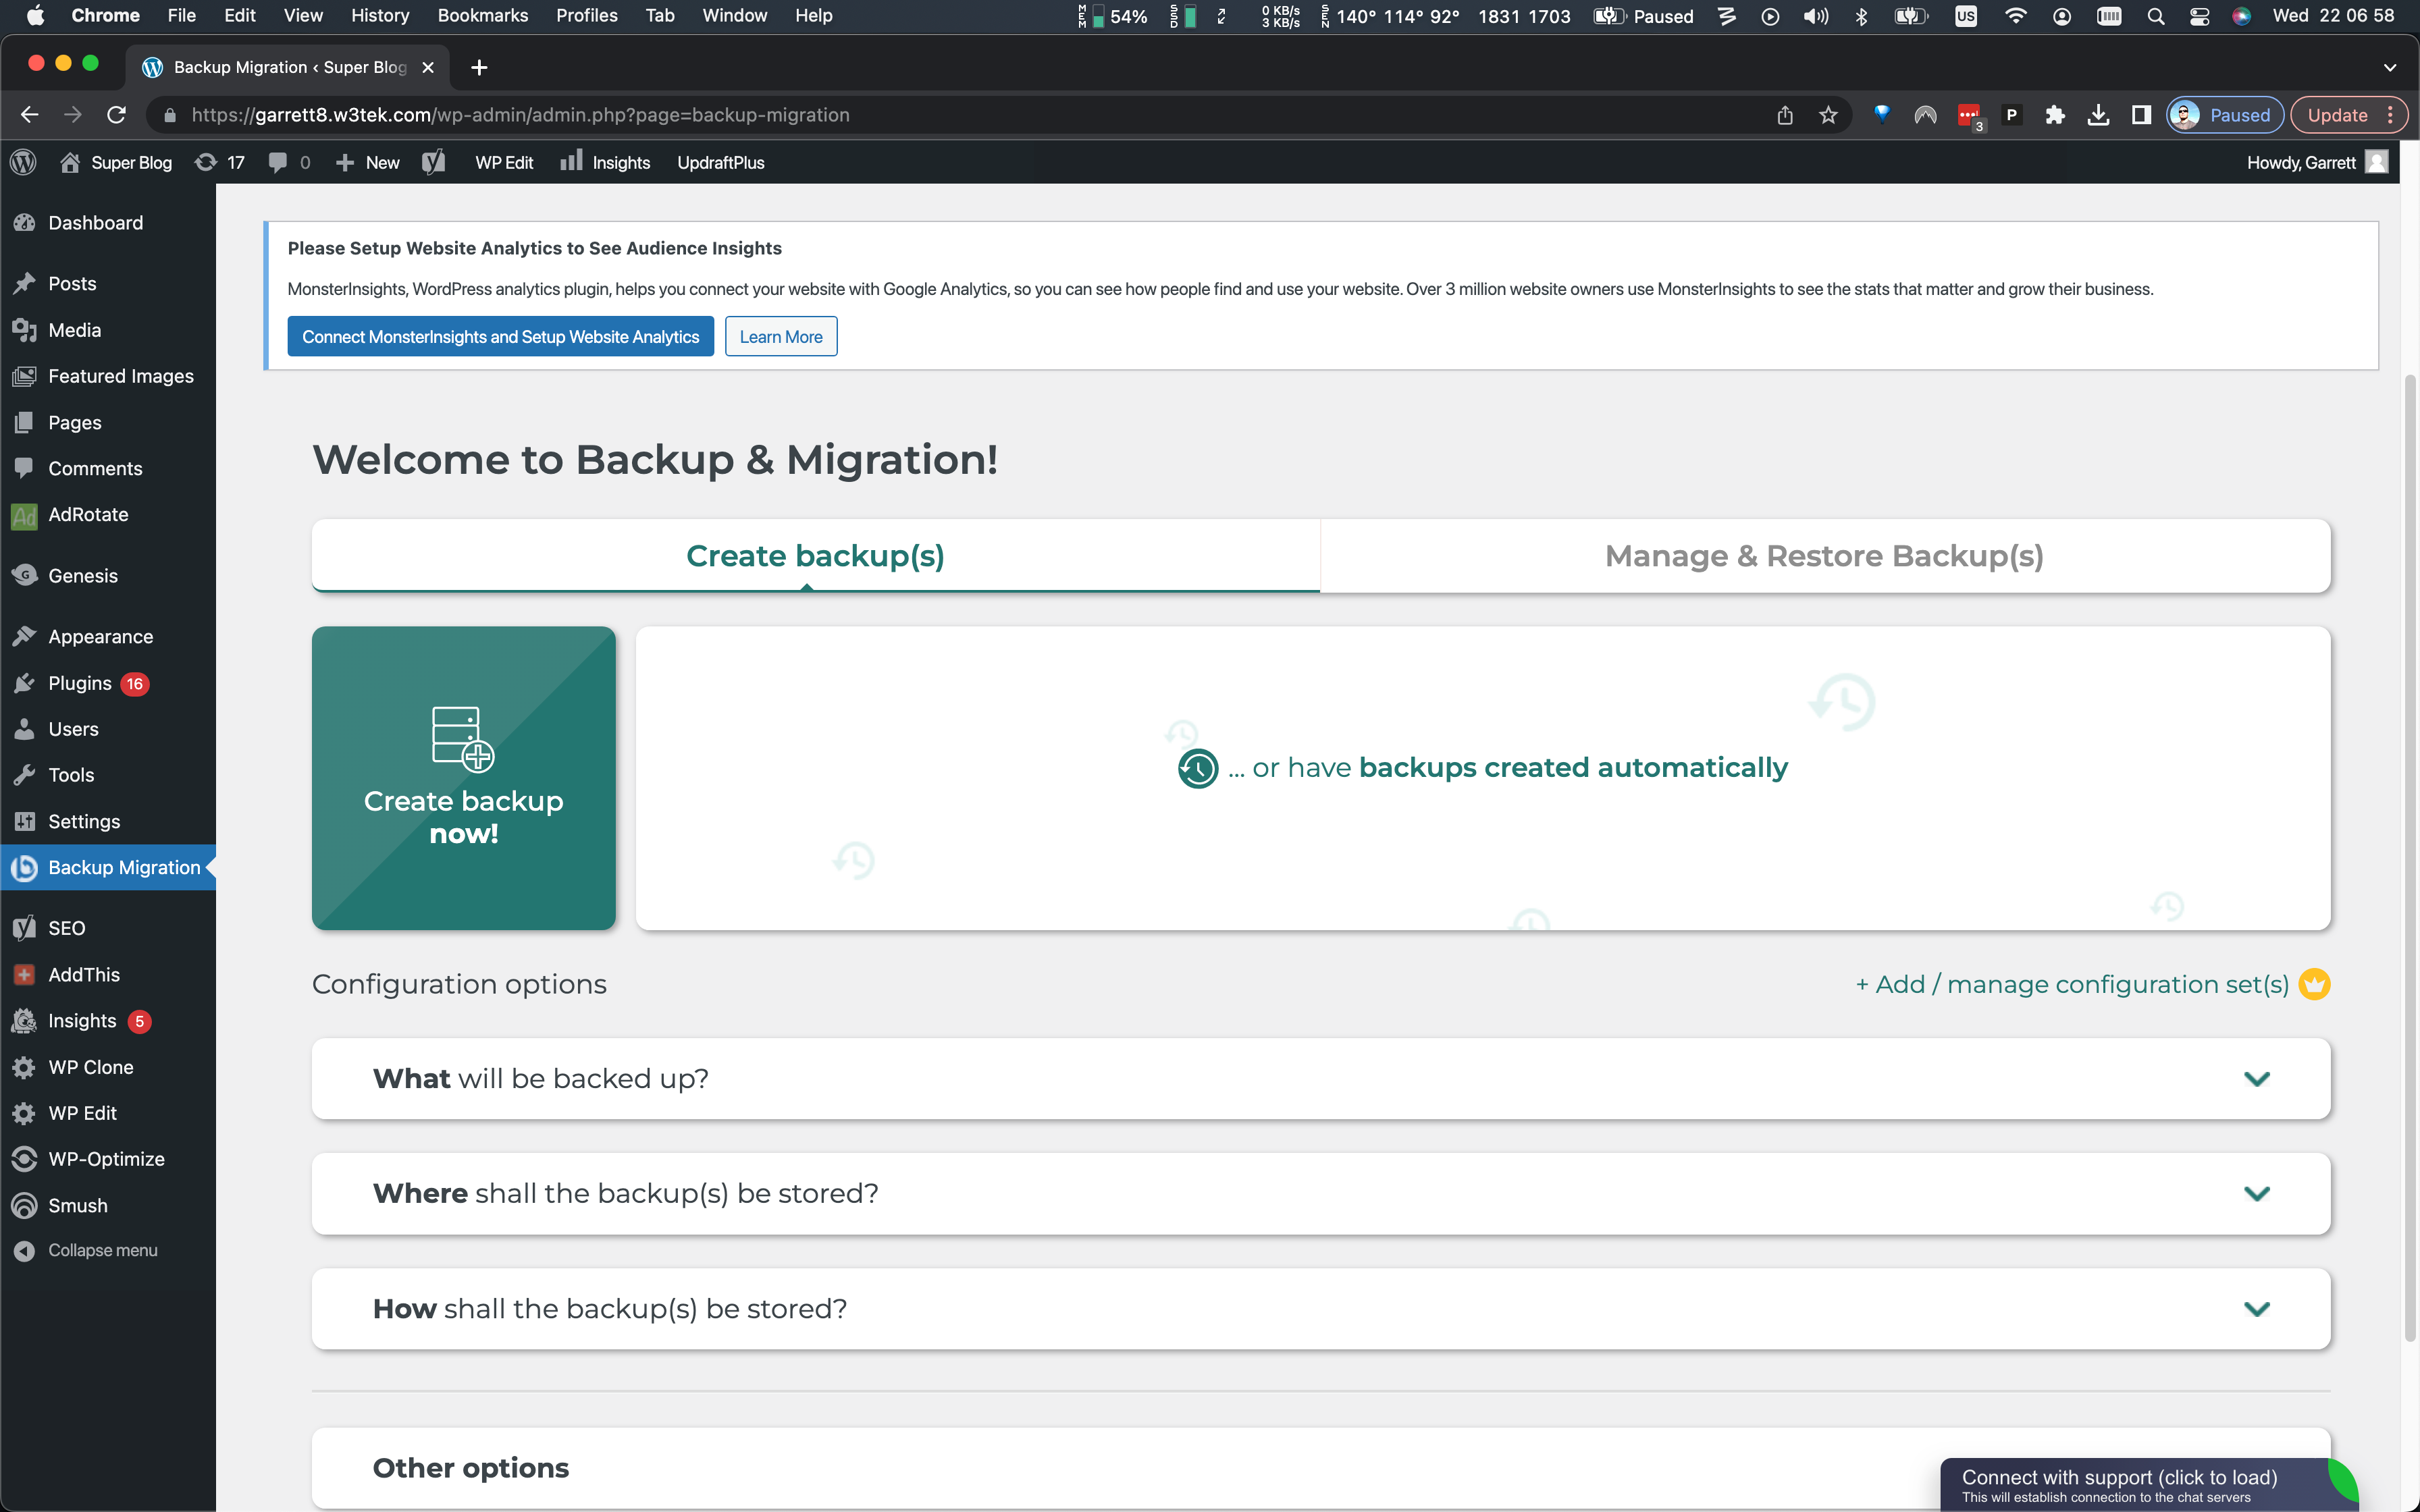
After the plugin is activated, WordPress should send you to the Backup Migration plugin settings page. If it does not, simply click Backup Migration in the left-hand menu.
From the Backup Migration settings page, click the Create backup now! button, shown here.
After a few moments, the backup will present a modal window advising you of the total size of the backup.
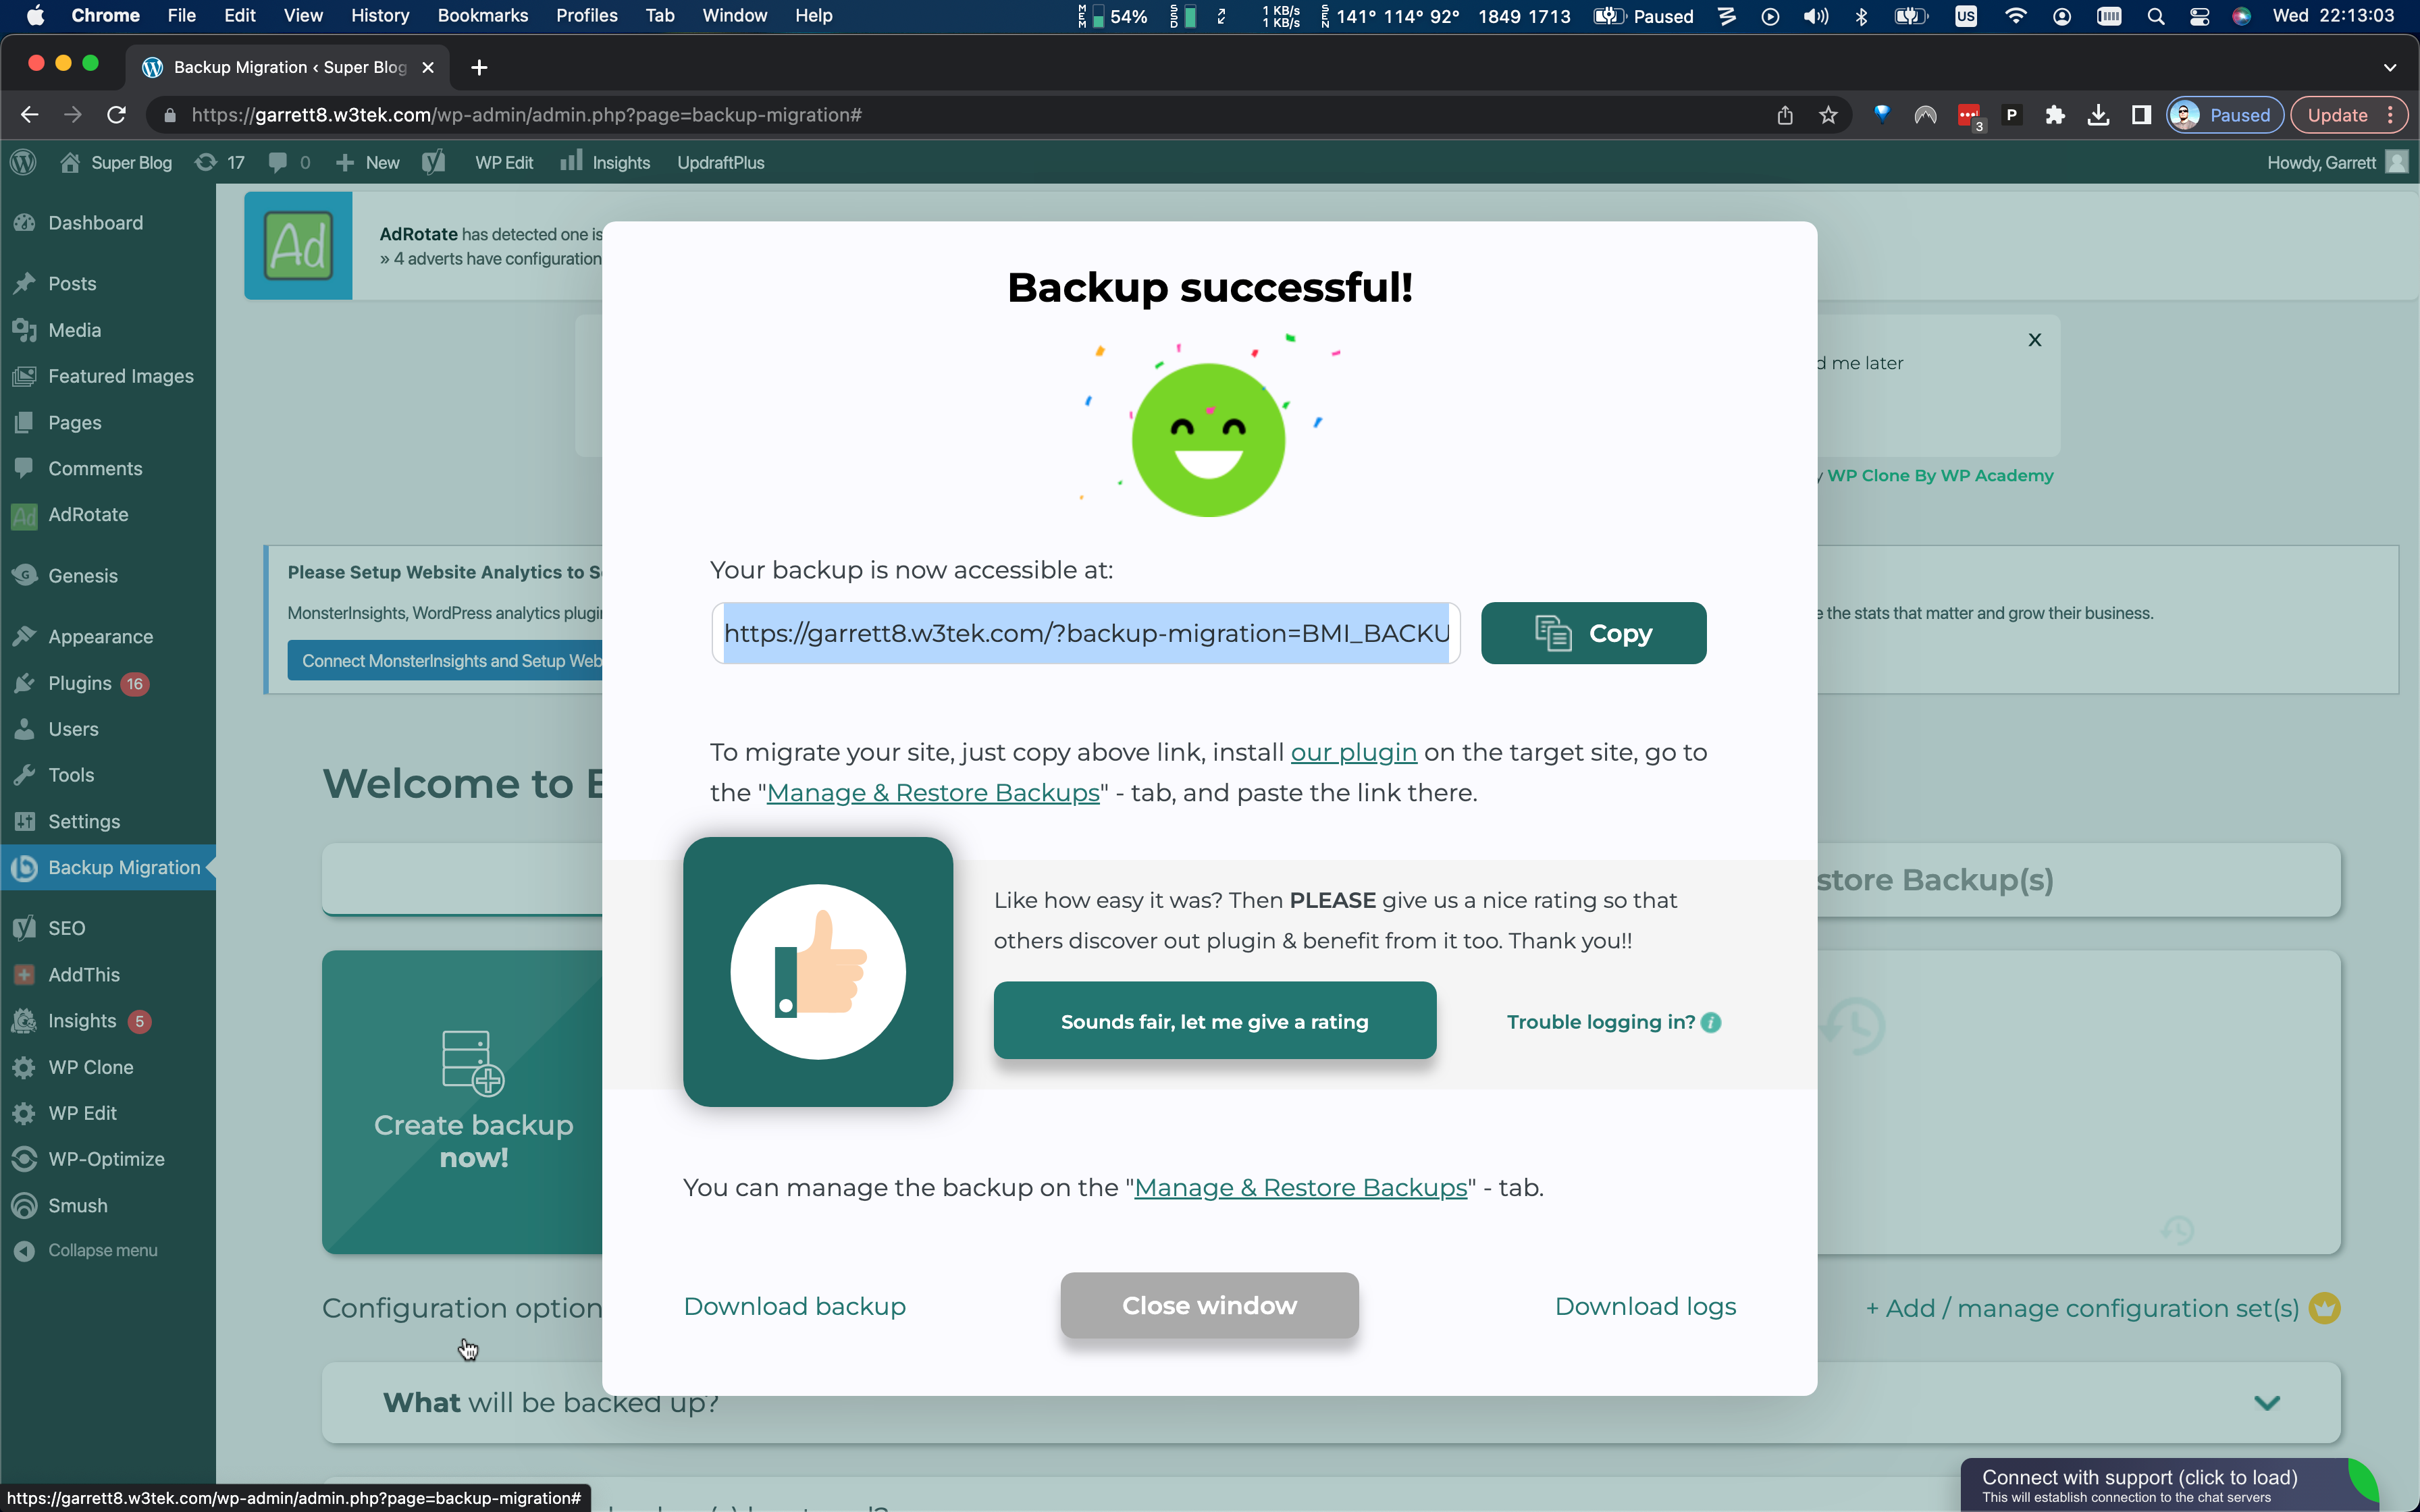
Simply click Create the backup! to proceed. It will then show you the backup's progress and, once complete, will display a window that says Backup successful! This window will also give you the URL at which the backup is accessible. Copy the backup's URL, as we will need it later to perform the import.
Import your Site's Backup to your Instablog
Login to your instablog. Recent versions of the Instablog include Backup Migration already. If you do not, however, see the Backup Migration item in the left-hand menu, simply install it using the same steps outlined above.
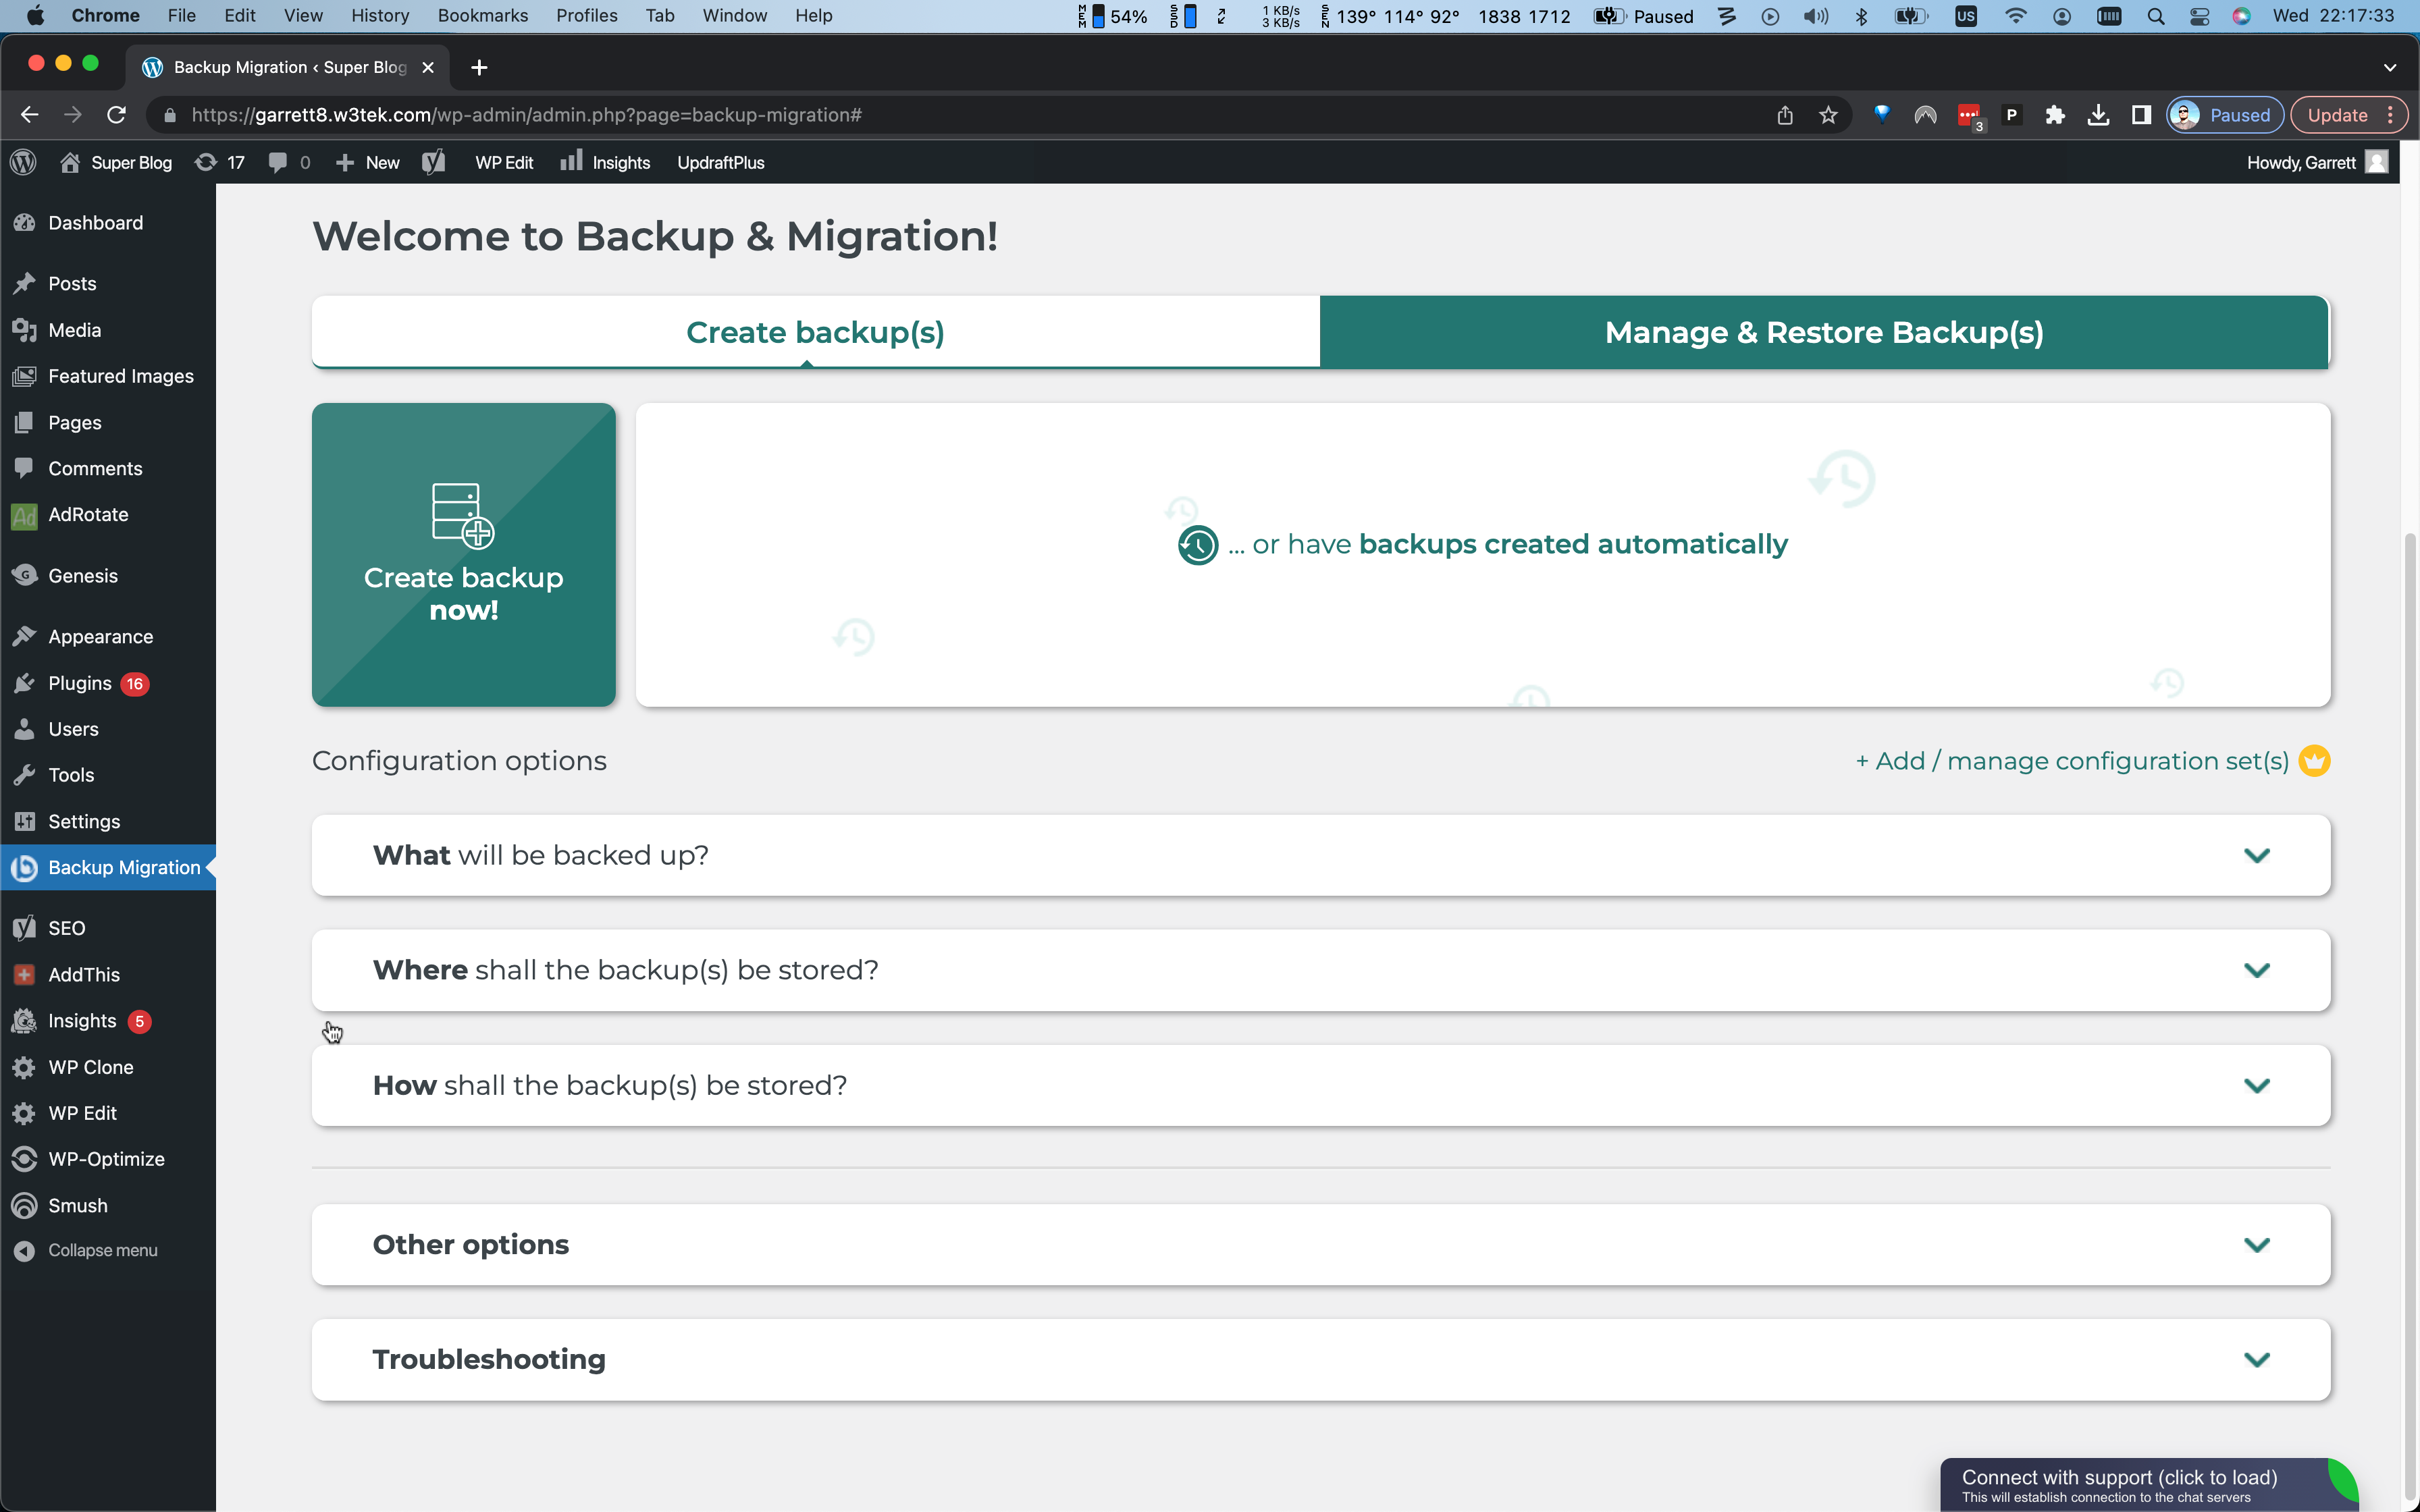
Once Backup Migration is activated, navigate to its settings page by clicking Backup Migration in the left-hand menu. From here, click on Manage & Restore Backup(s), as shown here.
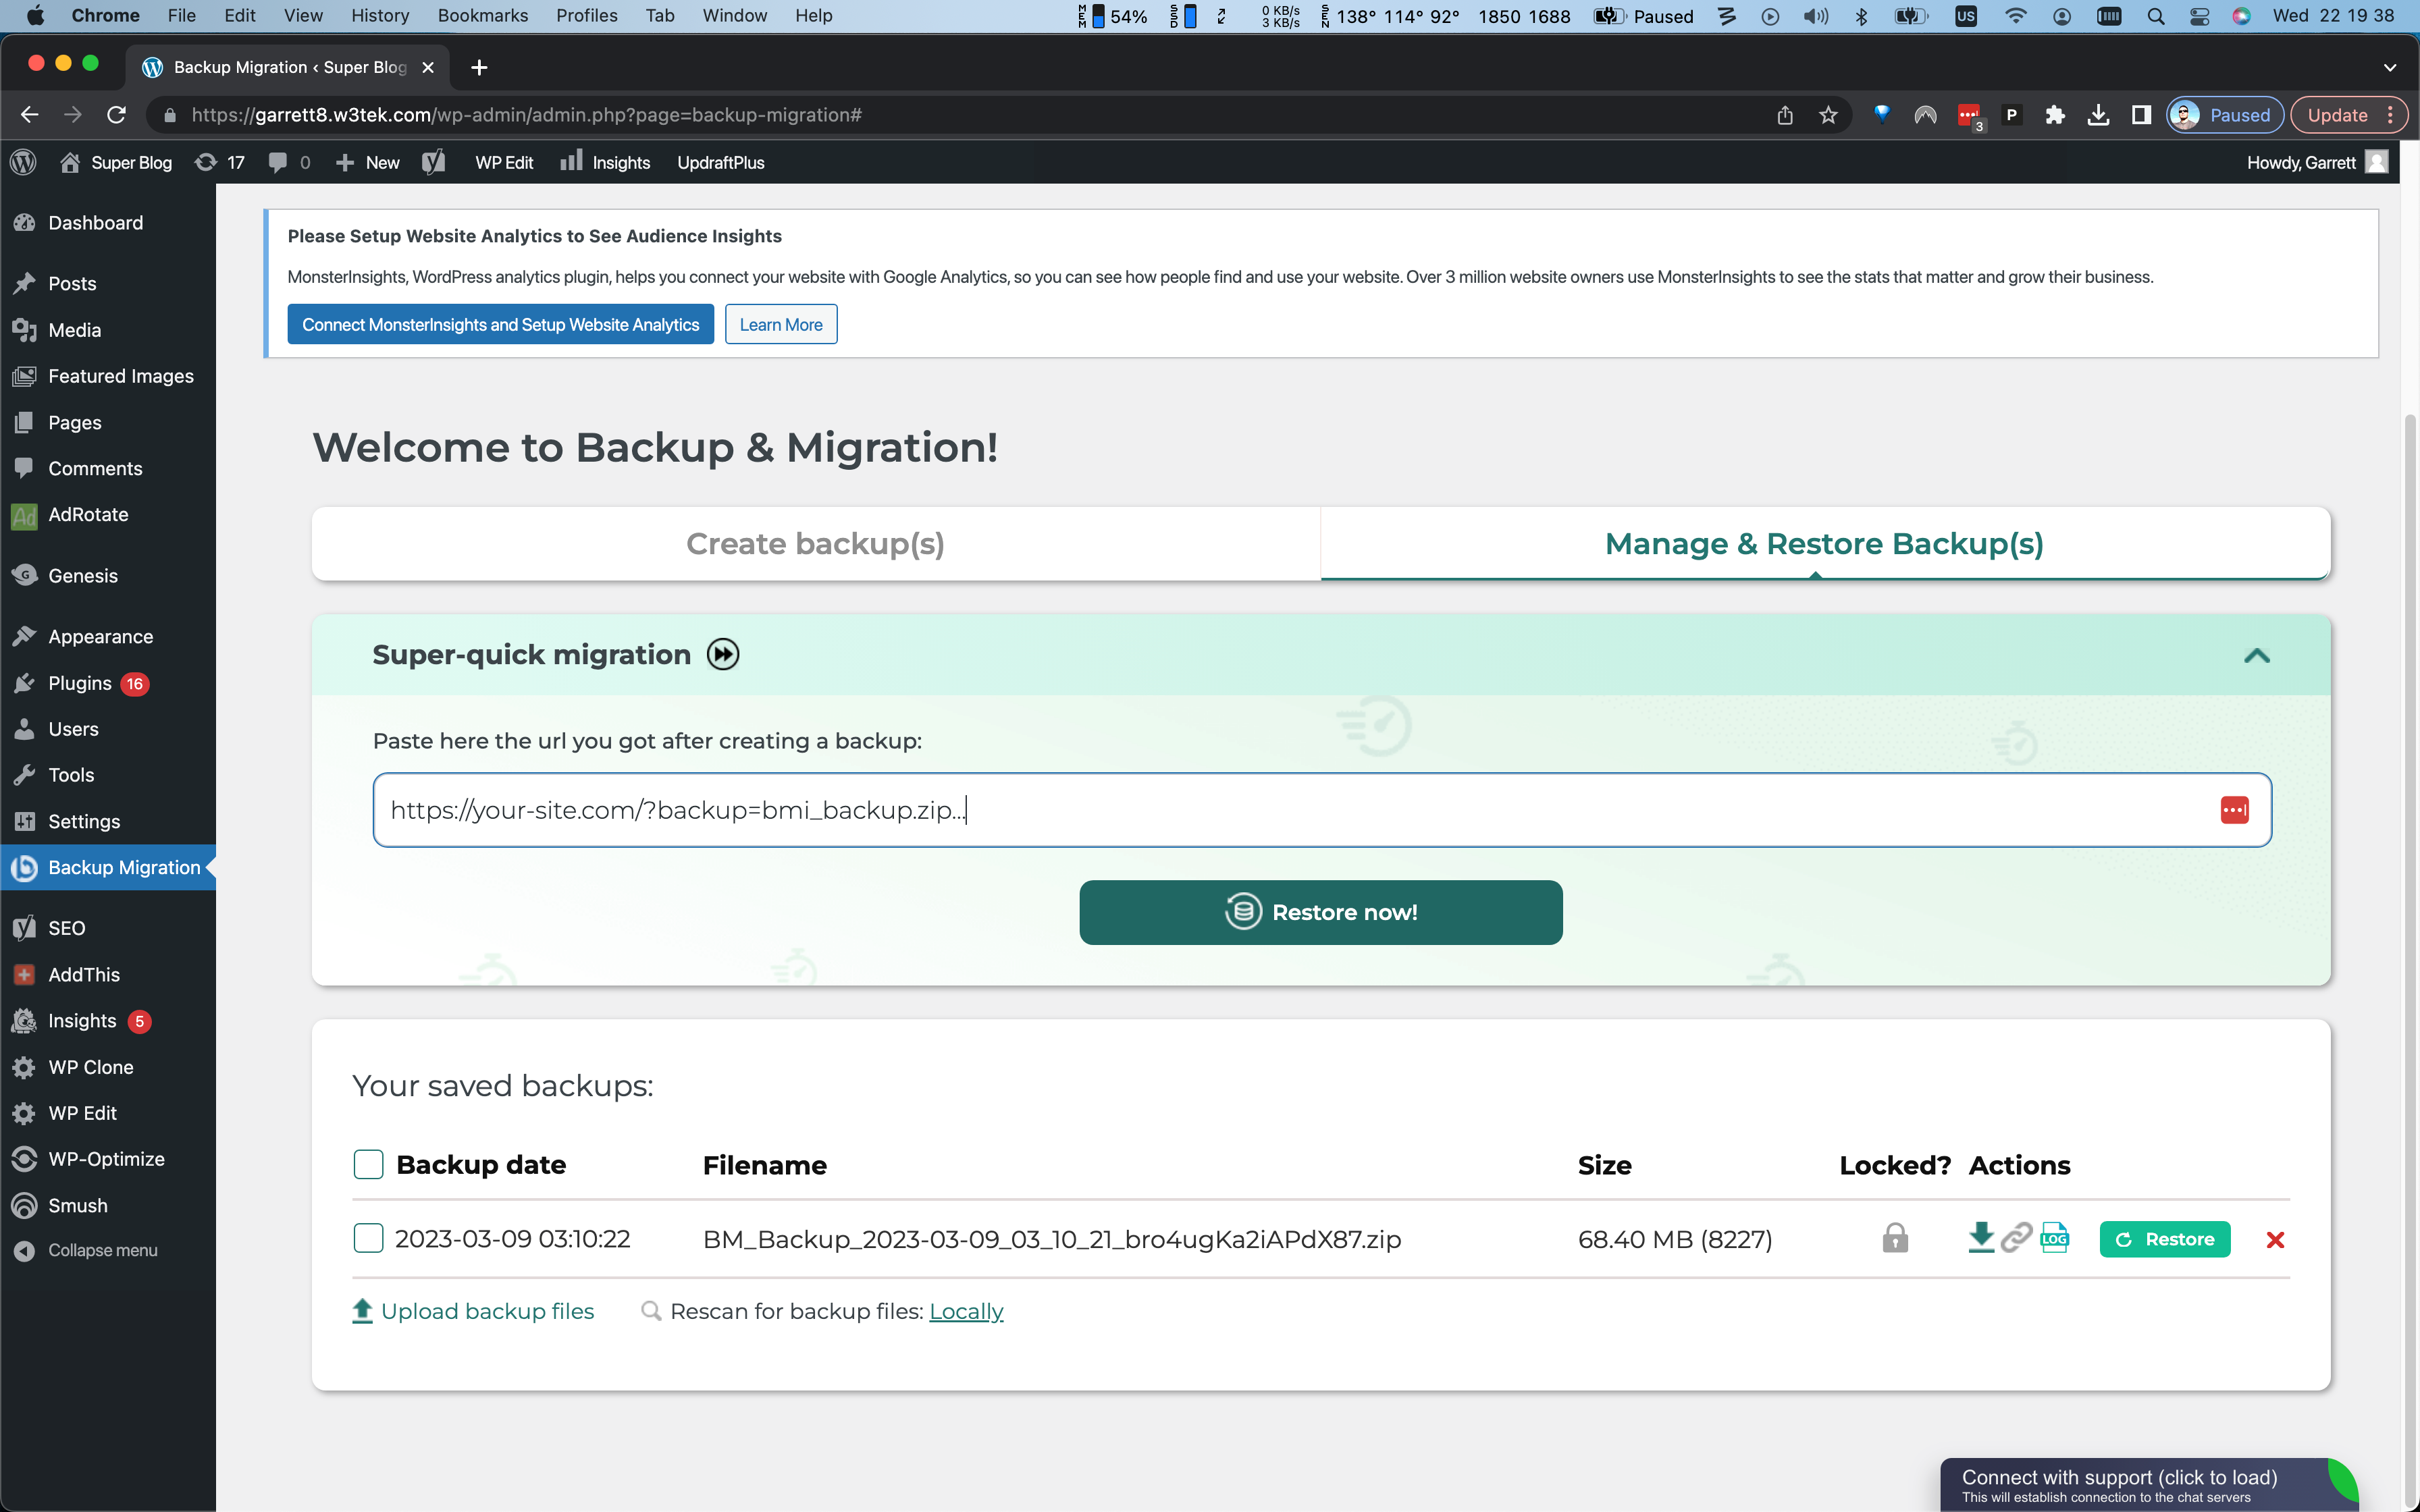
Click Super-quick migration and, in the text field that appears, paste the backup URL that you copied from your source site earlier. Click Restore now!
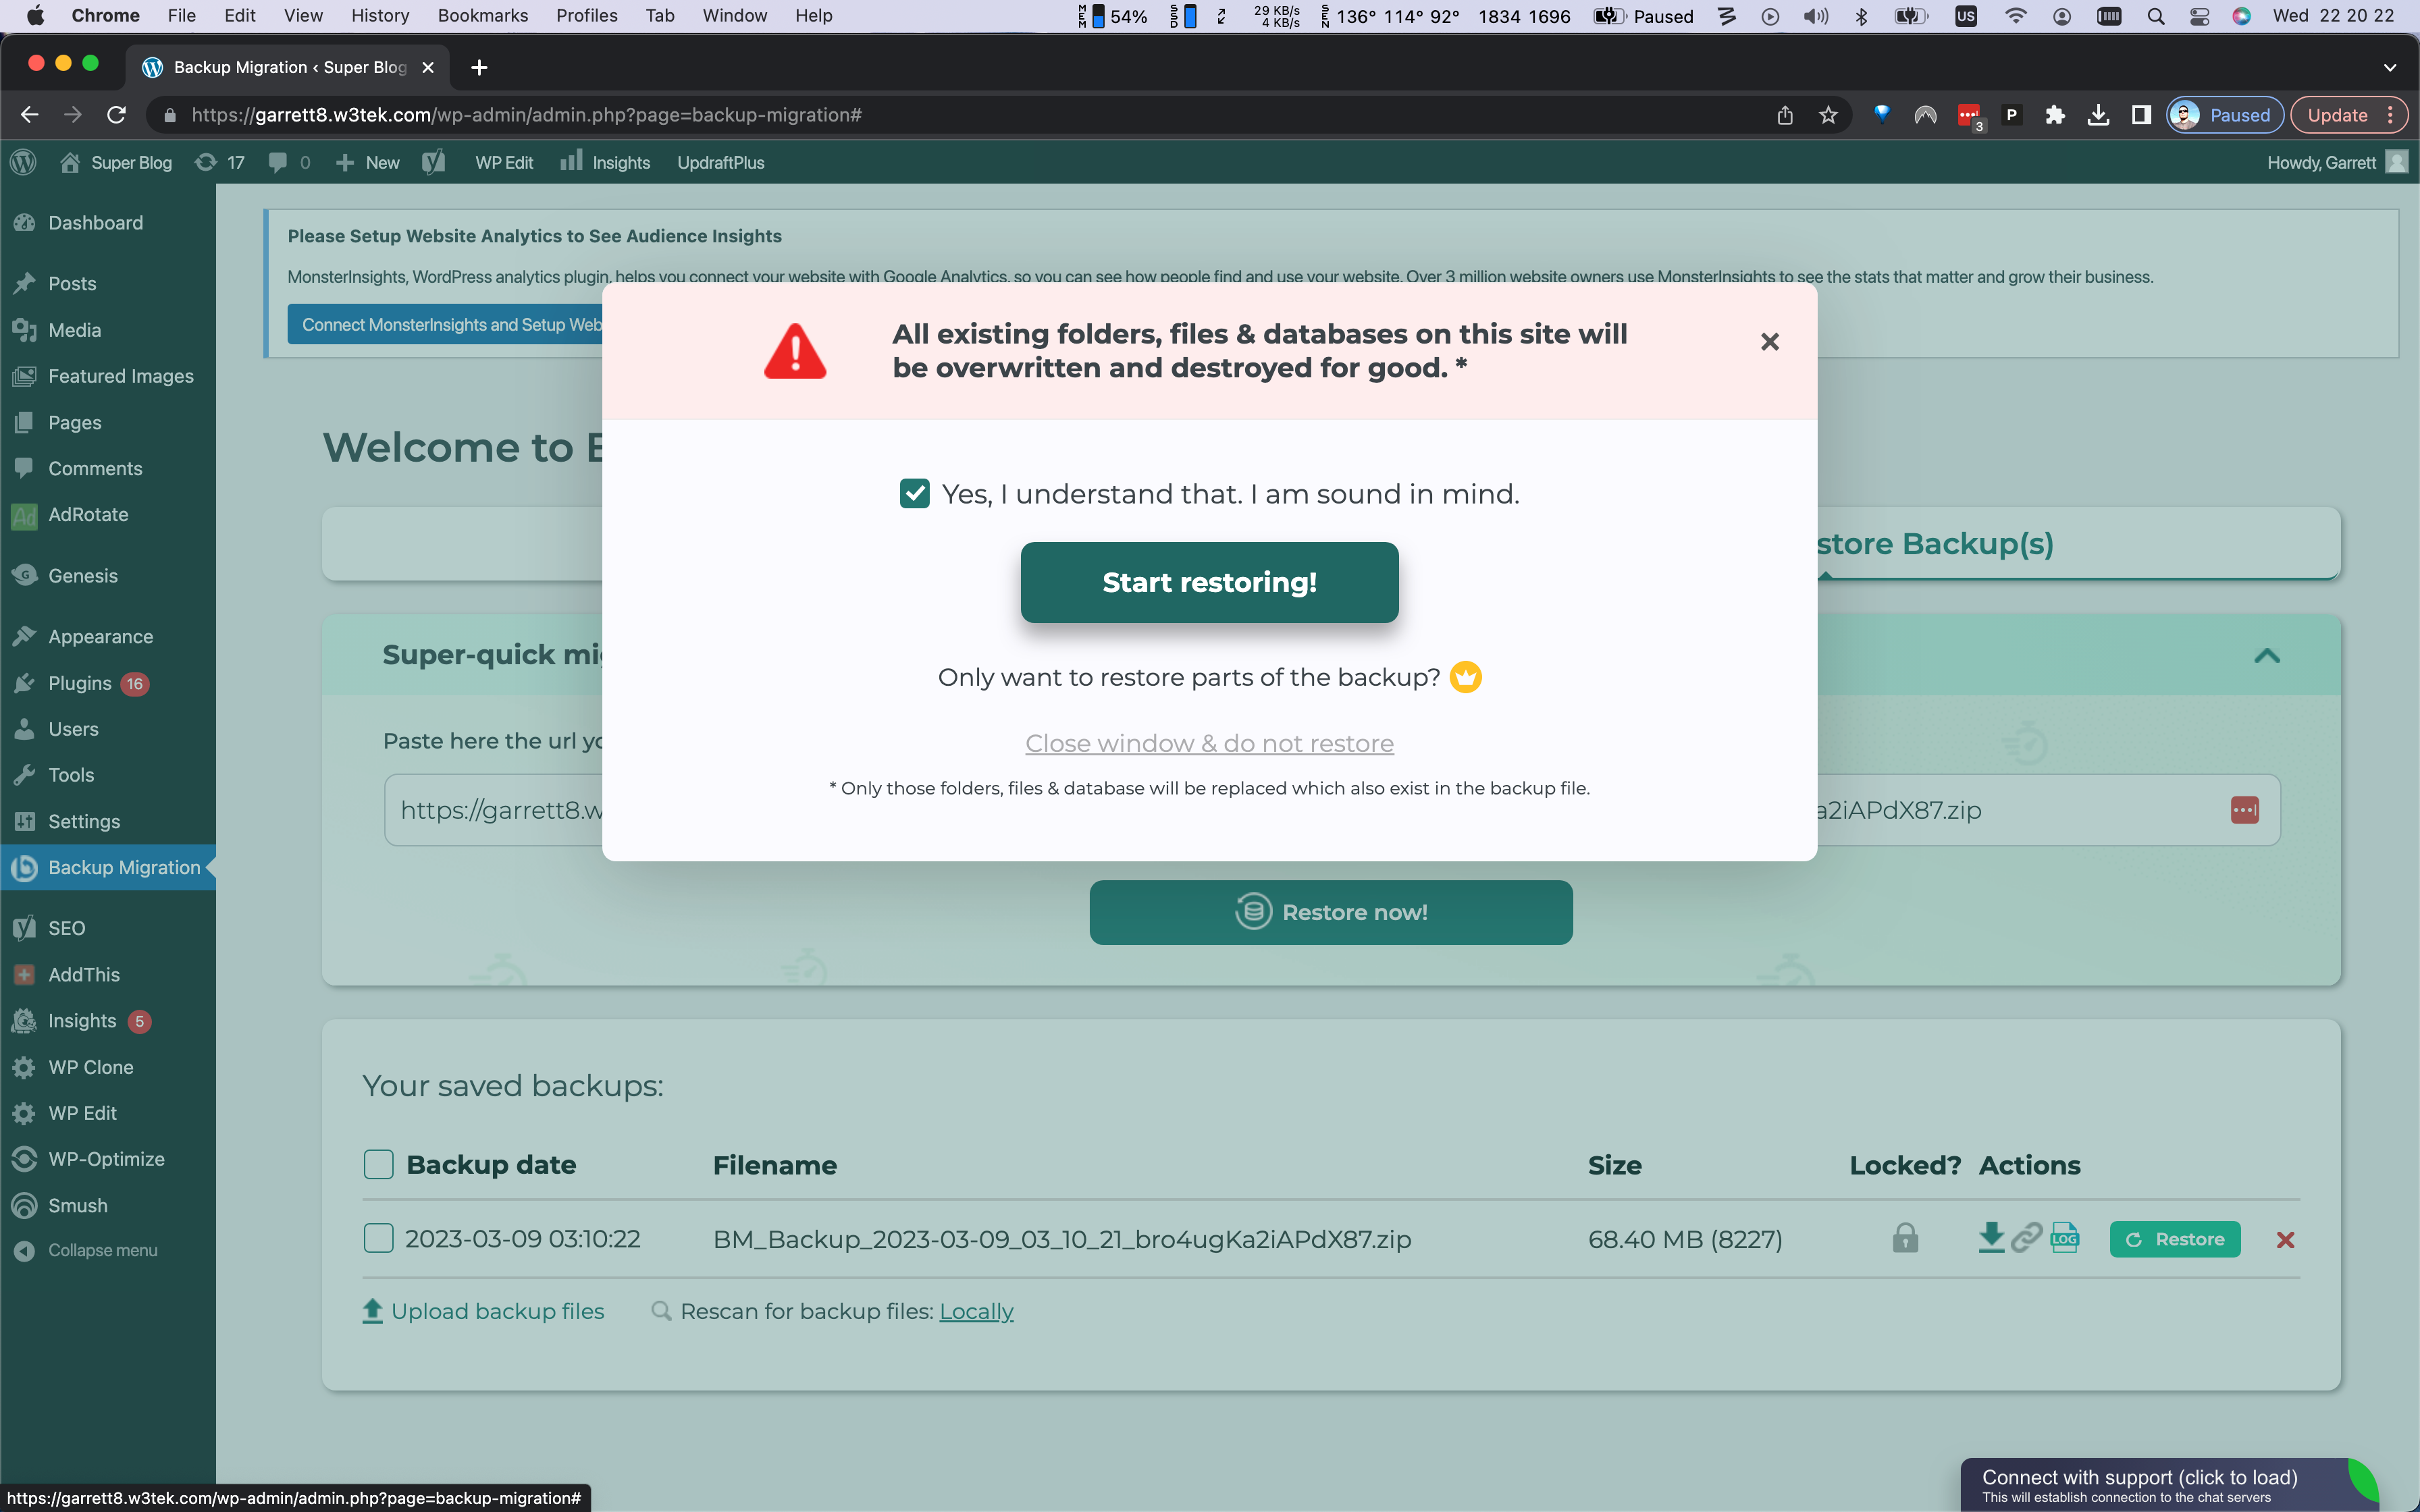
The plugin will display a modal advising you that importing your site will overwrite the existing contents of the Instablog. Click the checkbox and then click Start restoring!
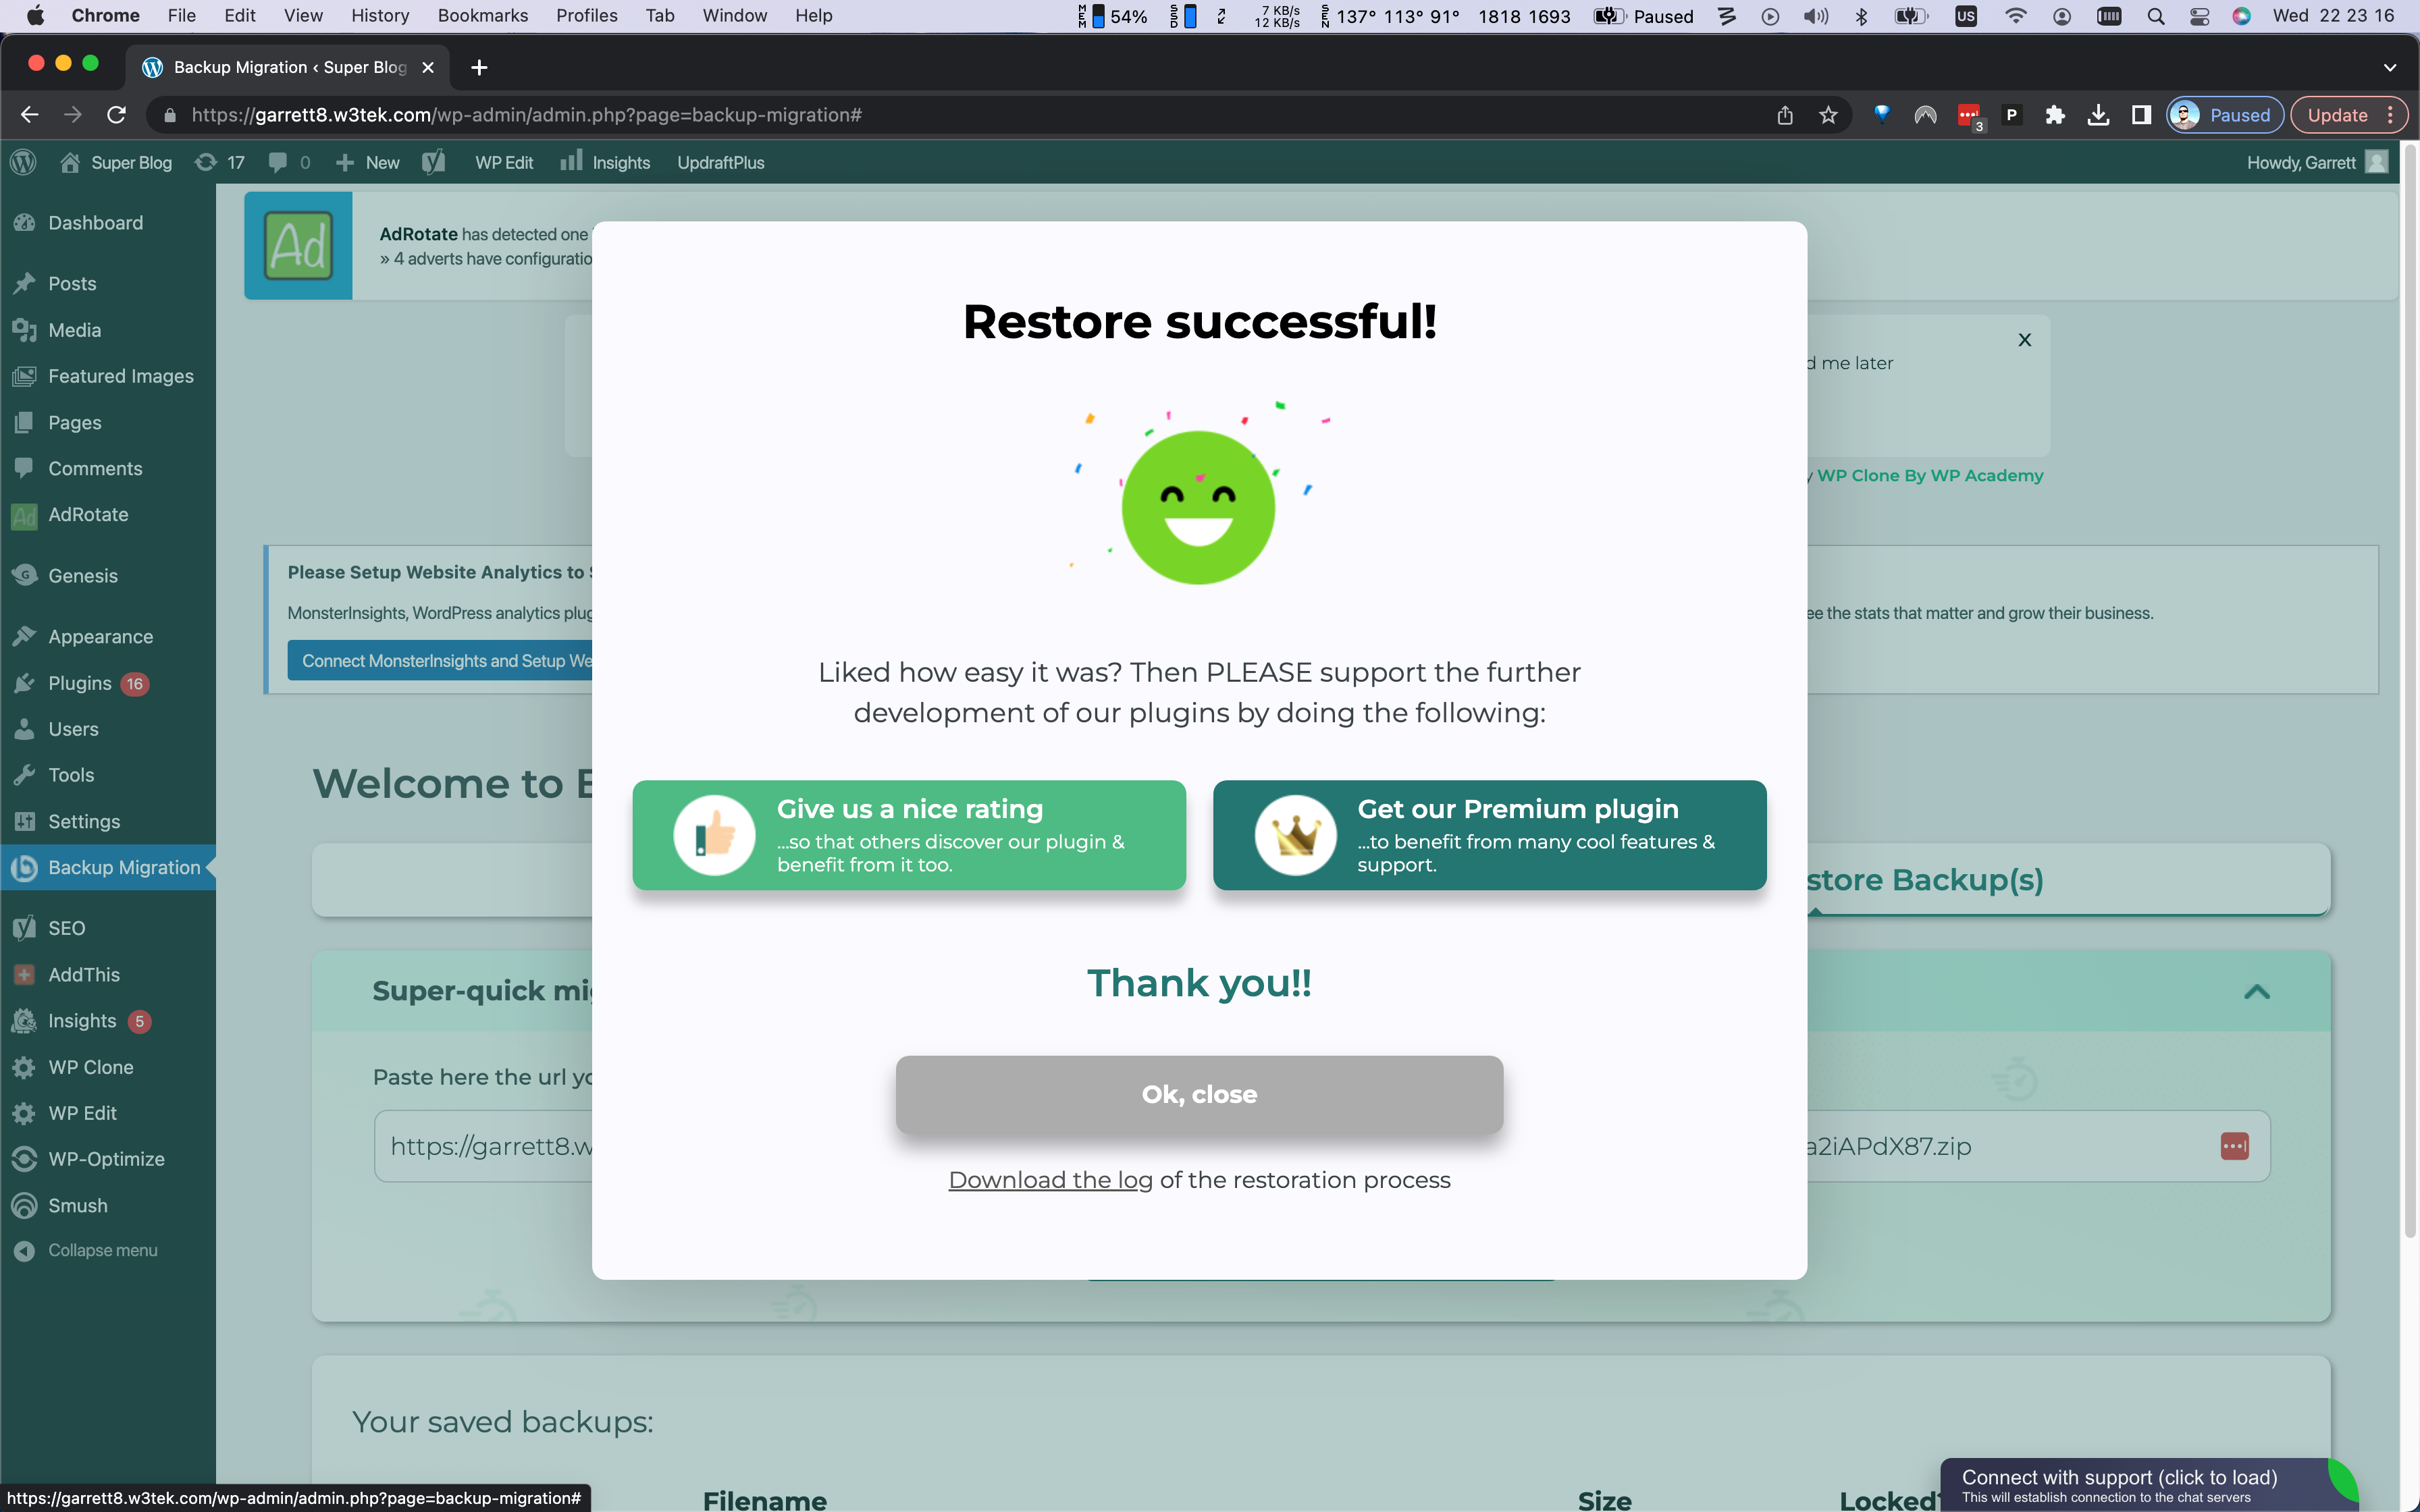
Once the restoration is complete, it will display a window that says Restore successful. Click Ok, close.
The plugin will redirect you to view your site's freshly imported home page. WordPress, at this point, has also logged you out. This is because the import overwrites the user table. This also has the effect of removing the user your ResultFlow app was using to access the Instablog. Conveniently, this is quick and easy to restore.
Login to your ResultFlow application and navigate to the Persona for which you created the Instablog, then navigate to the Credentials tab. Locate the Blog credential and click Edit. From here, making no changes, simply click Update. This will prompt the app to restore the credential listed in your ResultFlow app for this blog, though the password will change.
